

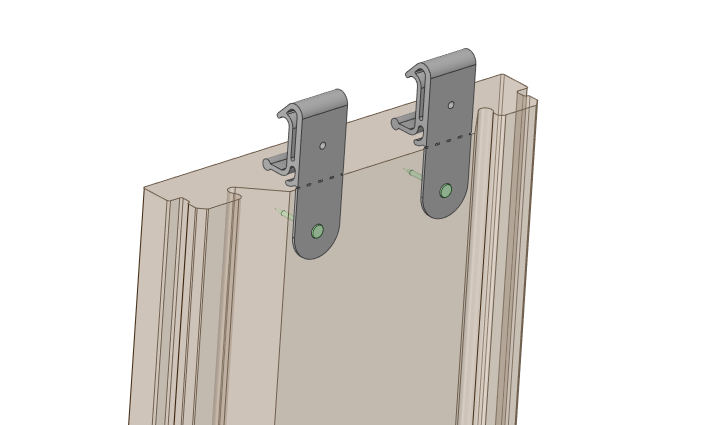
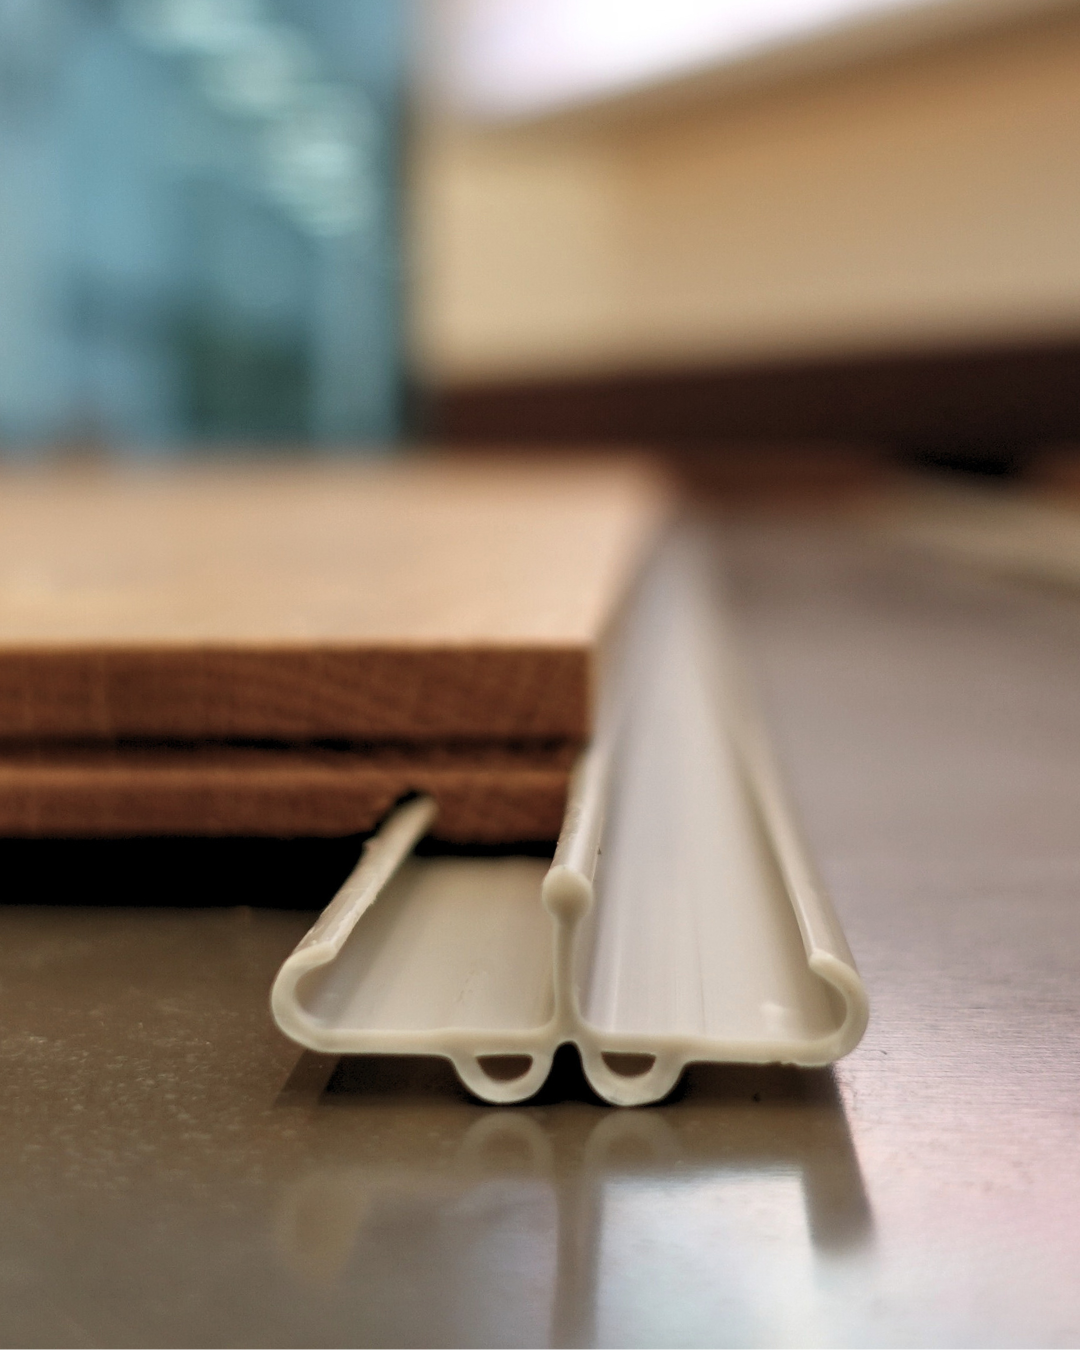
1. Attach Steller Clips to Solid Wood Planks
Squeeze the clip on from the side - do not slide it on from the end. Always put clips on planks before installing them - including both long clips and butt end clips.
2. Align & Assemble Planks
Hold planks still during assembly by placing your weight on the installed plank. Use a quick, light tap on the new plank with a mallet or a heel to attach. Work along planks from one end to the other like a zipper.
3. Enjoy Your Steller Hardwood Flooring
To remove a plank, stand wider than one plank away from your target plank and attach the suction cup to one end. Lift slowly, and then quickly to release the geometric lock of the clip.


Get Detailed Answers for your Technical Questions
Covering everything from transitions to stains and finishes, we've got your FAQ's all in one place: The Steller Floors Knowledge Hub.
Steller Floors Accessories


Get Warp Speed
Install Your Steller Floor Fast
Once you get the hang of clipping planks together, the trick is to get out of your own way - here are pro tips:
- Use 2 -3 people on install but do not switch jobs. One person assembles, one person serves planks, and the optional third can trim planks to length.
- Always complete whole rows before starting new ones:
- If you encounter a subfloor deviation, shim the clips as you work - using ram board, playing cards, or similar incompressible material.