

How do I refinish my whole Steller Floor?


Just as Steller Floors have smarter ways to install - we also have smarter ways to repair and refinish.
In traditional sand-in-place refinishing, a practitioner uses a walk-behind sander to reduce the height of the floor while removing surface-layer stains and finishes. When the practitioner has lots of experience, they will be able to minimize the amount of the wood thickness that they remove to accomplish their goal - and do it evenly across the surface. However, it would not be uncommon for someone to reduce the thickness of your floor by 1/8" or more - and for the results to be uneven.
With a Steller Floor, you can reduce unexpected variability among planks during refinishing and also reduce the thickness of the plank that your remove - preserving that thickness for future refinishing. Here's how:
1) Remove one row of your floor at a time using your suction cup - and develop a "battleship marking system" (e.g. Row A plank 1) to maintain the layout of your planks. Small stickers on the backs of planks can be helpful.
2) Send the planks to the garage or outdoors for surfacing using one of two methods (that differ only in the particle size of the waste):
a) Use a standard, benchtop planer to remove a fixed 1/32" from the top of planks - and a palm sander with 120 to 180 grit paper to achieve finish quality.
b) Use a drum sander to achieve both goals in one pass.
3) Apply the new stain and a finish as per manufacturer specifications. Most water-based polyurethanes can be applied easily with a roller and cure with low VOCs.
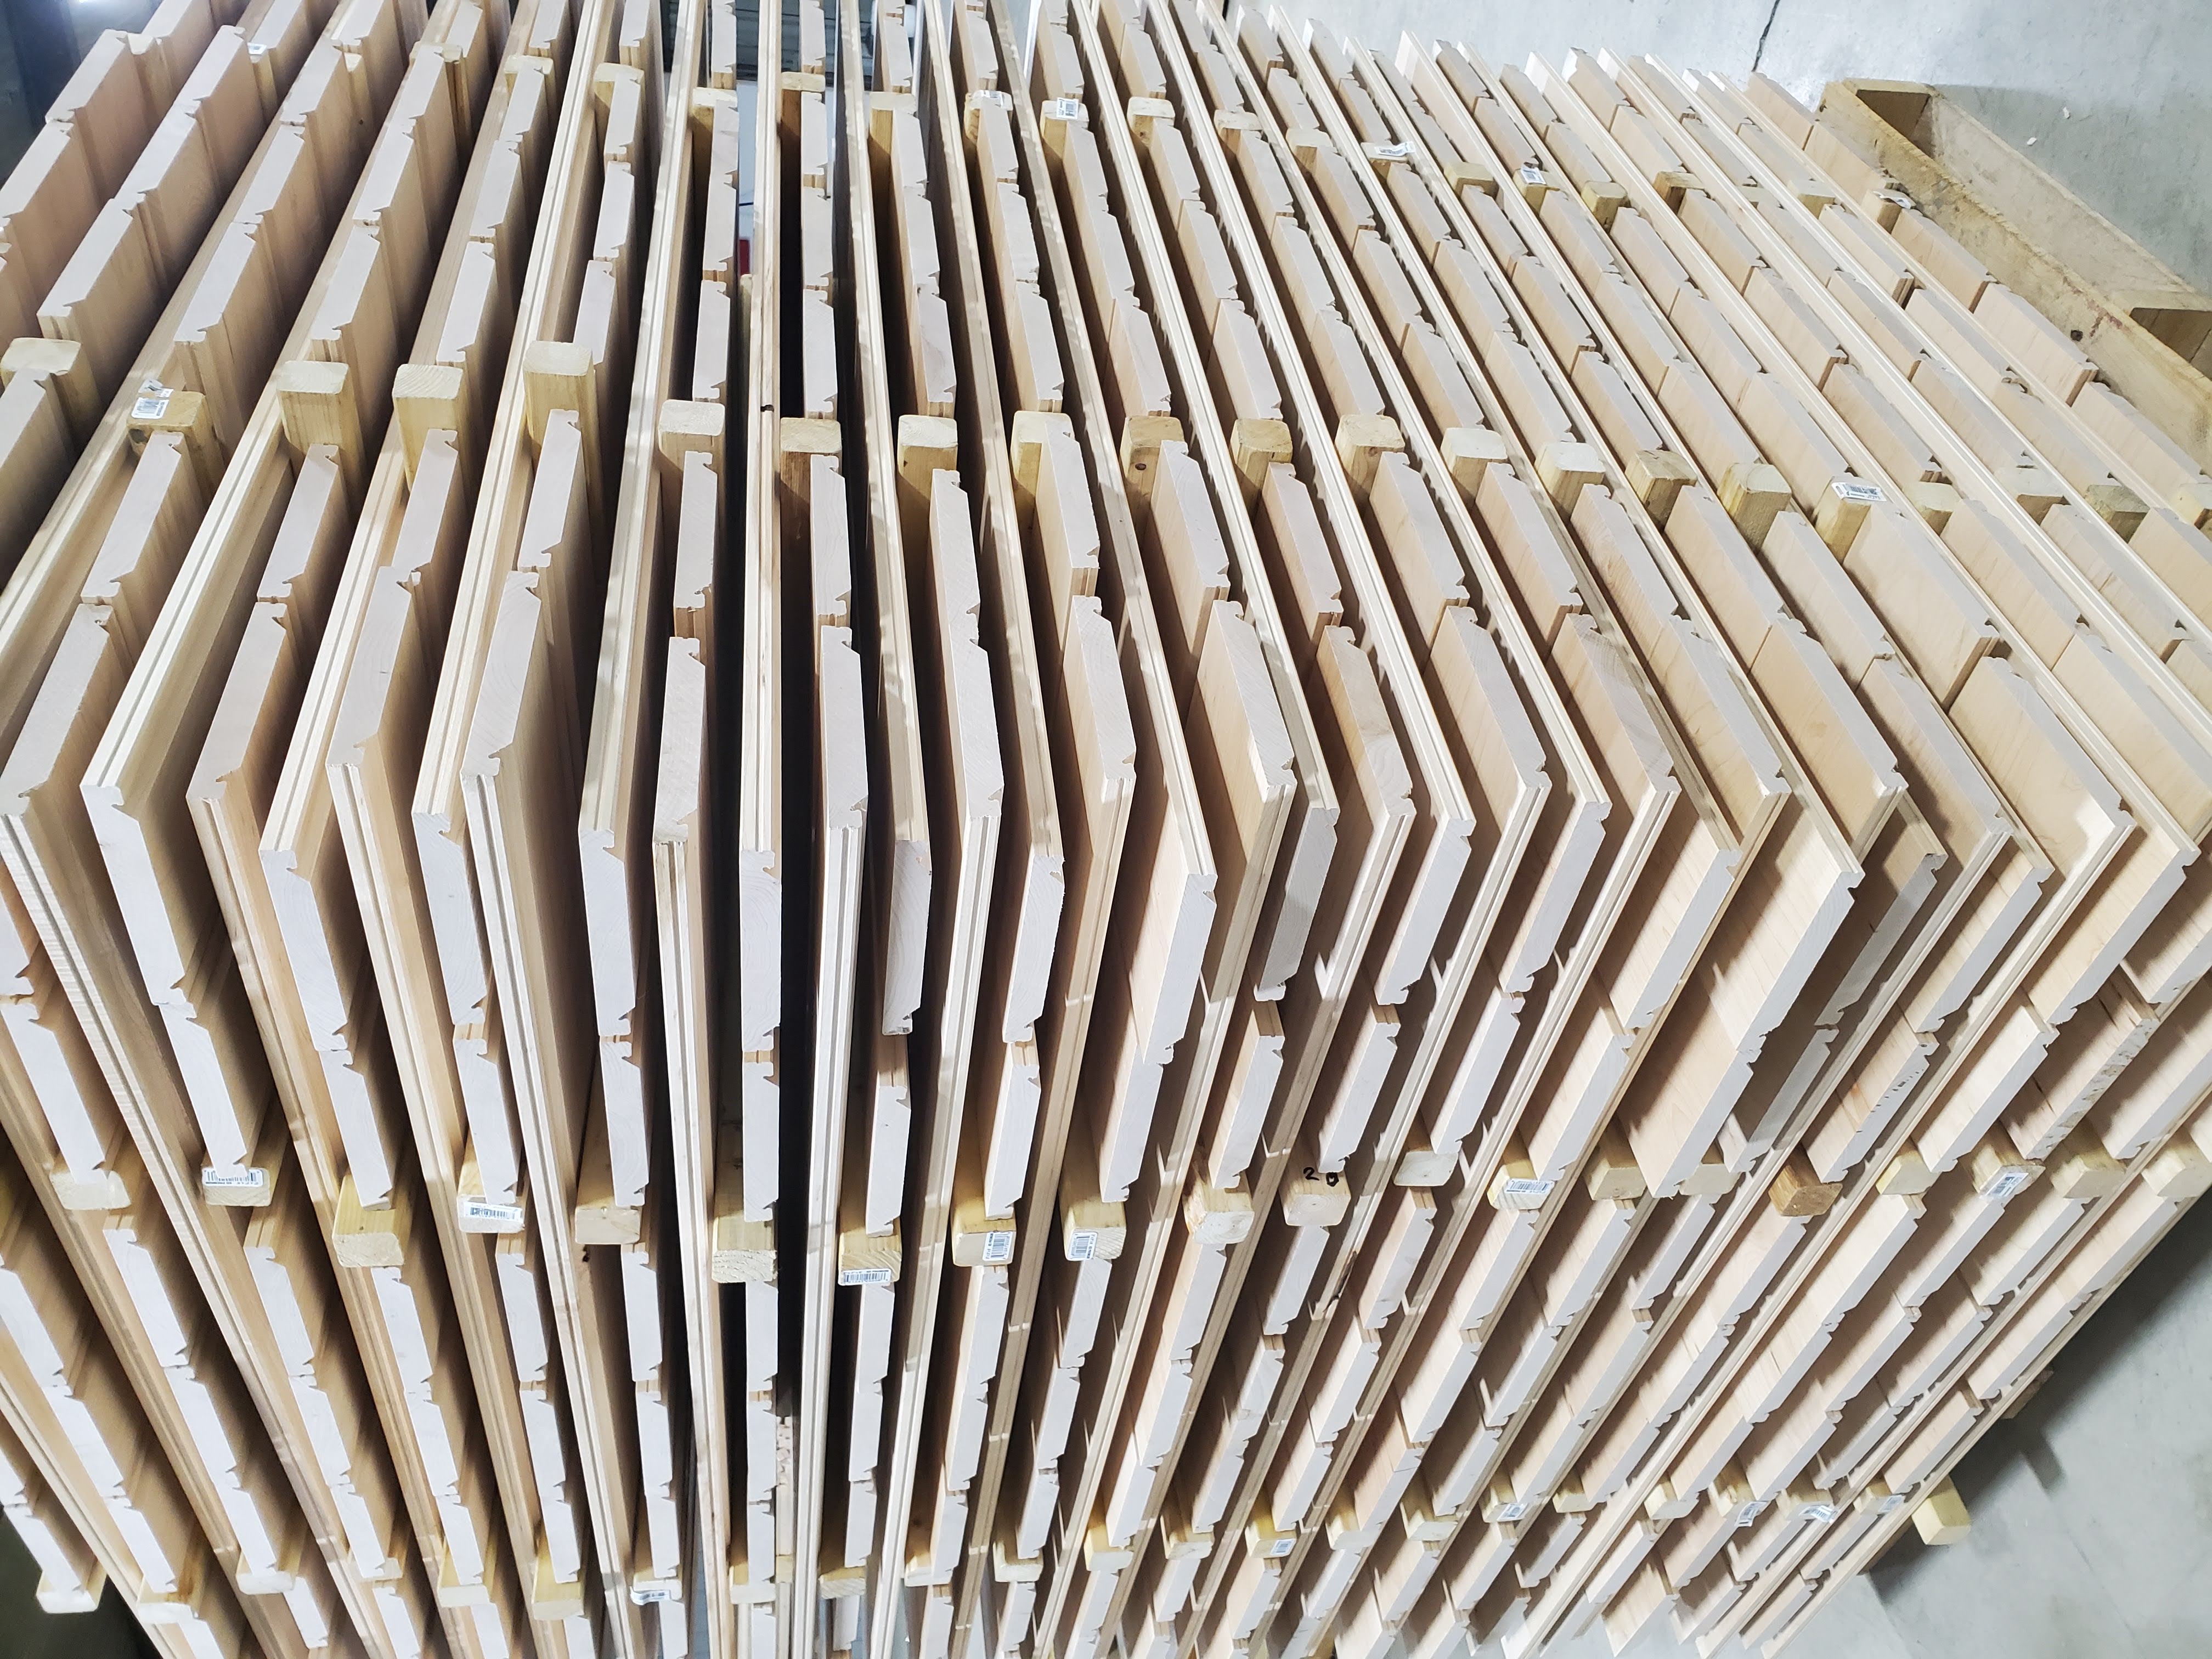
4) Allow the stains and finishes to dry/cure indoors using an open stacking system - see image below. We use 2" x 2" furring strips cut in half to keep planks from touching one another and reduce the floorspace needed to accomplish the task. You will use 1 furring strip (cut into two) per 12 sqft that you are working on at one time.
5) Return planks to their original location and re-install the planks.
REAL LIFE, EASY DIY EXAMPLE: a 1,000 sqft project might get divided into four 250 sqft sections which isolates the disruption to one part of your home. This effort would require 20 furring strips (cut in half to make 40 total drying supports). Furring strips cost about $3 each - and so your main costs are the stains and finishes you want, $60 in furring strips that are re-used for each of 4 passes, and about $500 in tools that you may already have, or can rent. This - with no interior dust or need to move out - is compared to $6-$10/sf in professional refinishing costs ($6,000- $10,000) provides serious savings - and increase your material preservation by 4x - by reducing 1/8" of your floor thickness lost to 1/32"!
INCREASE TIME SAVINGS: To get the job done faster - you can increase the number of furring strips you purchase. Then with some careful coordination, your whole project could be done in just a few days to a week (similar to traditional refinishing) - with no new cuts to make on your flooring planks - they just go back where they came from with installation time significantly reduced from the first-time install.
Reach out for Steller Support!
We can help you troubleshoot over the phone, by email, or by video appointment from our studio! 1-800-955-7671 or support@floorsbysteller.com


