Professional Tips for a Fast & Beautiful Install


Installing a Steller Floor is a straightforward process that can be completed quickly and efficiently with the right preparation and techniques. By following these professional tips, you’ll ensure a smooth installation experience while maintaining the craftsmanship guarantee provided by Steller Floors.
1. Prepare Your Site
- Ensure the subfloor meets flatness requirements of 1/8" over 8-10 feet. Use a 48" straight edge to check flatness - if a dime sails under the level - consider remediating with liquid leveller to remediate low spots. Check for flatness after remediating just in case!
- Maintain indoor humidity between 35-50% and a temperature range of 65-80°F. If conditions are drier, acclimate the flooring for two weeks for every 5% below 35% RH.
- If you decide to use a moisture barrier, install it during site preparation.
2. Install Expansion Gaskets
- Place the provided expanded-foam gaskets under baseboards (1 inch of material every 1-2 feet), compressing slightly, to allow room for plank expansion during high humidity. For rooms wider than 20 feet, consult the Steller Floors team for additional guidance.
3. Start in the Center
- Begin by assembling a section of four rows in the middle of the room. Once the section is sturdy, push it against the pre-installed gaskets at the first wall.
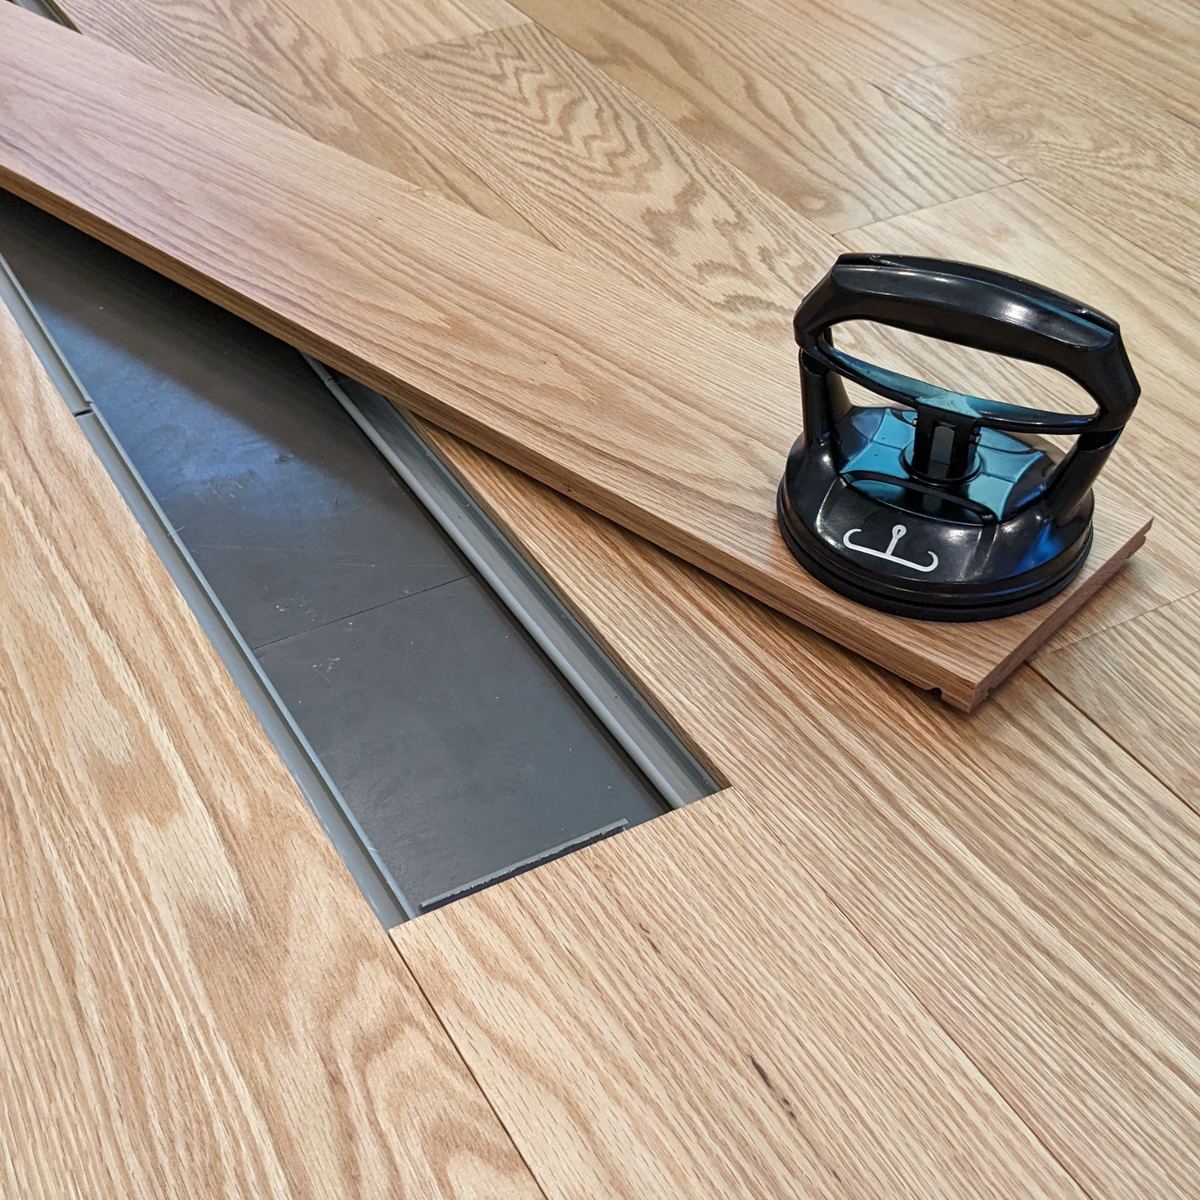
4. Optimize Clip Placement
- Ensure clips overhang butt-ends of planks by 4 inches and leave a ½-inch gap between clips to allow for thermal expansion. Avoid forming “plus joints” at the plank ends (this is a traditional-install, style approach for no known technical reason).
5. Seal Fresh Cuts
- When trimming planks, apply the provided sealant to the fresh cuts using a foam brush or similar tool. This step ensures durability and moisture resistance.
Pro-Tips for Speed and Efficiency
-
Join Full Rows Lengthwise First
- Assemble new rows by connecting several planks with butt-end clips first. Attach long clips along the outer edges, then push and tap the entire row into place. Installing one plank at a time is slower.
-
Handle Room Final Rows with Precision
- Stop a few rows short of the final wall. Measure the partial plank width needed to finalize the install, rip it to size, and pre-assemble the last rows two and slide them into place. Snap the third or fourth row into place last.
-
Pre-Assemble in Tight Spaces
- For hallways or other constrained areas, pre-assemble flooring sections and ask a partner to help you carry the sections into place.
-
Manage Separate Rooms
- If humidity differs between rooms, place a plank perpendicular to the doorway to separate the flooring. This approach allows independent movement between rooms.
By following these steps and utilizing Steller Floors' user-friendly design, you can achieve a fast, efficient, and professional installation.
Reach out for Steller Support!
We can help you troubleshoot over the phone, by email, or by video appointment from our studio! 1-800-955-7671 or support@floorsbysteller.com


